Search This Blog

Showing posts with label sewing. Show all posts

Wednesday, November 30, 2011

A Baby Gift


A family at church is about to be blessed with their first child--a little girl.  We are so excited for them.   For her shower, I thought I would try out one of the ideas I saw on Pinterest.  {If you haven't heard of Pinterest, it is a site for finding/sharing great ideas.  I have a few invitations left on my account, if you want one, please email me :)}
I used buttons to embellish some onesies that I picked up at Wal-mart, and then I made some cute little skirts to go with them.  I originally saw THIS cute design on Pinterest.  You can see my version on the left.  I used pastel buttons for two reasons--this was for a girl, and Wal-mart was out of packages of primary colored buttons.  I did use a dark blue button for the head.

To make this, I arranged the buttons the way I wanted them, and then held one of them in place and put the others back on the table.  I used embroidery thread (DMC floss) to sew the buttons on.
You can use any type of thread.  I used the embroidery floss (this is the same thread that people use to make friendship bracelets) because it has six strands of thread together, and so it is much thicker.  You get very noticeable stitching without having to sew as much.
Just thread your needle, tie a good knot to start, and sew on your first button.  I like to make the X shape with my thread, but you could make yours parallel = if you wanted to.
Once I sewed the button on, I laid the other buttons back on the shirt to make sure that I was keeping the design I wanted.  Then I held the next one in place, picked up the other buttons and sewed on the second.  I just kept doing that until I got to the end.
After sewing on so many buttons, I found that it is easier to just keep sewing on the buttons with the same thread, rather than tying a knot after each button.
I used a backstitch with dark embroidery thread to make the little antennae.  Link for backstitch video (in case you need it--I promise, it's really easy.  If you can sew on a button, you can do this.)


The next onesie I made had a rainbow on it.  Yes, it's a rainbow.  The mother-to-be recognized it, but not everyone else has.  Take it for what it's worth.  I found this greeting card on Pinterest that had a button rainbow, and I figured if you could put it on a card, it would go on a shirt.  (That's what I keep telling you--take an idea and make it your own!)  I added pom-poms for clouds, which seems to help people identify the rainbow.  The sewing technique is the same for the buttons.  The hardest part of this one was sewing the pom-poms on.  You have to get your needle through the center of the ball so that the thread won't pull out.  It's not really that difficult, but it is harder than sewing on a button.

My third design was a candy cane.  The baby is due this month, and what baby doesn't need something cute for Christmas?


There you have it--three personalized onesies (or t-shirts) for someone special.  A nice gift without having to spend a fortune {and since I am looking for a job, I don't have a fortune:)}
I also made some little skirts to match.  This was my favorite part.  I wanted to keep them.  Really.  They are very simple, although you would probably want to use a sewing machine. 
I liked this skirt best.  Don't you want to make one now?


As this post is already rather long, I decided to try something new (for me).  I did make a tutorial for the skirts that I made, but I posted it HERE.  Please keep in mind that I write this blog with the idea that anyone can do the things that I post, even if they've never tried similar projects.  I wrote my tutorial in hopes that someone who has never sewn anything before could still follow it (although I don't know if I succeeded).

If you need a cute gift for a baby, these are great.  I hope you try them!

I love to hear from my readers, so let me know what you think!

Saturday, June 11, 2011

Flippable Flip-Flops

Well, it has been awhile.  I taught English to high school students for 8 years.  Thursday marked the end of that endeavor.  Wrapping up the school year and packing my classroom into boxes to bring home was a big job.  Hopefully, I can now move on to some new things that will be less stressful, like decorating flip-flops.


I have seen flip-flops for sale like the ones that I am posting today.  They are rather expensive.  After making these, I can understand why they cost so much, but I managed to make these for about $5, instead of $30.  The biggest factor was my time.  I will say that making the flip-flop base was very time consuming, but the detachable ribbons are much easier and the process goes more quickly.  Now that I have my base pair, I can have a ribbon set to match everything!

I learned several things as I made my flip flops, and I will be giving you some tips that I wish I had known before I started.  Also, since I want to make sure that the ideas I have are accessible to everyone, I made these without using a sewing machine.  If you have a sewing machine, I have some ideas that may make this easier.

To begin, you will need a pair of flip flops, sew-on velcro, ribbon, buttons, a glue gun, measuring tape or ruler, and a very sharp needle and thread.  You might try ribbon-by-the-yard, as you can get more choices for less money.

*One of the things that I learned from doing this is that my shoes would have looked better if I had used black velcro instead of beige.  I recommend matching the velcro to your shoes, even if it is a little more expensive.  The store was out of black when I went, and after seeing my finished product, I wish I had gone somewhere else and found some.


Measure the length of each side of the straps on your flip flop.  The sides may not be the same length.  Then, measure and cut your velcro strips to the same length as your straps.

*Another thing I learned was that your shoes will be more comfortable if you use the soft fuzzy (loop) side of the velcro for this part of the project.


The kind of velcro that you can buy that is sticky on one side states on the package that it is not good for vinyl and fabric.  Because of that, I purchased the sew-on kind.  To give myself a guide as I was sewing, I used a glue gun to attach the velcro to the shoe before I sewed on the velcro.  The glue will not stick to the shoe for very long, but it works kind of like a temporary suction cup to hold the velcro strip on as you sew.  This helped me.  I tried one strap without the glue, and I preferred the glue method.  You can decide what you prefer.


^^^If you have a sewing machine, you could try a different idea here.  You could take a strip of fabric and sew one side to the velcro, then wrap the fabric and velcro around the strap to make a tube, and just sew up the other side by hand.  If you don't have a sewing machine, this is what I did:


 Take a very sharp needle, and thread it.  After securely knotting the ends, begin sewing the velcro to the strap of the shoe.  I must admit, it is difficult to push a needle through velcro at all.  It is even harder to push a needle through the fuzzy part, so I stuck to the edges.  I made a zig-zag pattern across the bottom of each strap.  It is important to remember to pass the needle UNDER the strap each time.  (I forgot once and I had a hard time undoing it.)


This is what the underside looks like:


The front of the V gets a little tricky, as you are using two pieces of velcro.  I was only able to sew down the edges.  Also, as I got to the end of the strip of velcro, I looped my stitches around the divider that goes in between the toes.


When you are finished, your shoe will look like this:


I'm sorry to say that you will have to do these steps twice, as most people have two feet.  I do think the end result is worth the perseverance.  Keep sewing!

Now for the fun part.  The ribbons!

Measure the velcro for your straps.  (If you used the soft loops for your shoes, you will want to use the stiff "hooks" for this part.)


Next, cut your ribbon to the correct length.  You will want to make sure the end of your ribbon doesn't fray.  There are two ways to do this.  You can use clear nail polish on the edges, or you can melt them.  If you choose to melt your edges, please be very careful.  The melted part will burn you, and the ribbon can catch on fire.  (If you are a kid trying this project, please let an adult do this part.)

Use a lighter to melt the ribbon edges.  Hold the lighter flame NEAR the ribbon.  If the flame actually touches the ribbon, it can ignite.  The heat will melt the ribbon.  It is tricky to melt the edge evenly, so you may want to practice first, or just use the nail polish.


Next, sew the velcro strips together into a V. 

^^^If you have a sewing machine, you could machine sew this, and substitute machine sewing for the glue gun section.


Sew the ribbon into a V, as well.  I sewed a square that was smaller than the buttons I chose for embellishing.  One thing to pay attention to at this point is if you have a ribbon pattern that is not symmetrical, you will want to make sure than you lay it out in the pattern that you want.


After you have your V, sew your button in the middle.  You could use beads or some other decoration, instead.


Even though sticky velcro is not recommended for the shoes, I found that the glue gun works quite nicely for this part.  I was so happy to be finished with the sewing.

Starting with the point of the V, make two strips of glue on a short section of the of the velcro.  Attach the ribbon.  Continue gluing small sections of the ribbon until you finish.  If there is too much velcro at the end, just trim it off.  That is why we started in the middle.


Do these steps twice and you have a custom pair of flip flops!


Making a second set of ribbons is easy.  You already have the shoes.  You probably will need more velcro, though.  Just cut your ribbon and velcro to length, sew your anchoring squares, add your embellishment, and glue!


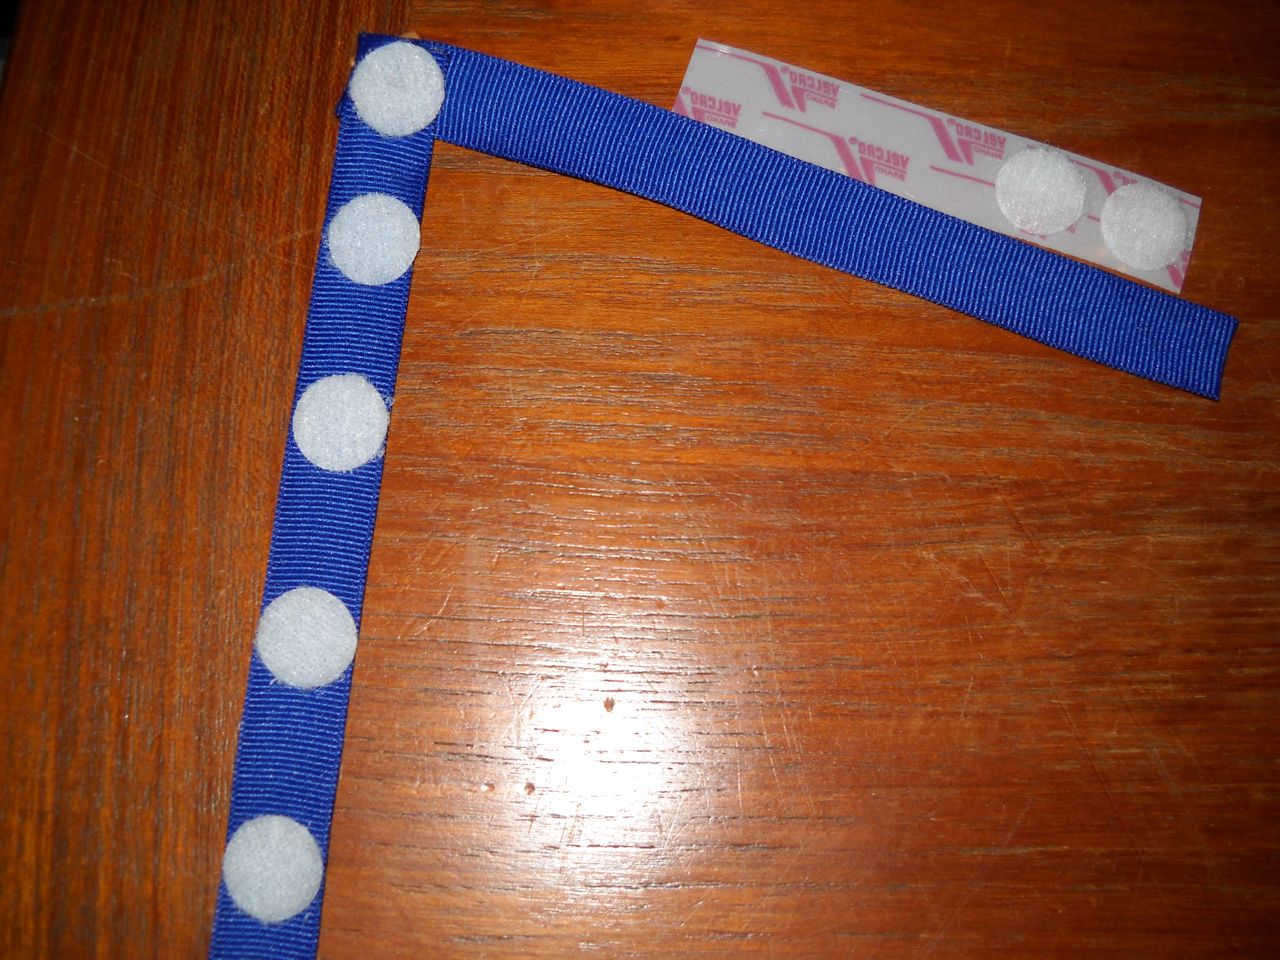
*Another option for the ribbons is the sticky back velcro.  I tried this, and it does work.  However, you have to be really careful when you remove the ribbons from your shoes, as the sticky stuff isn't quite as good as the glue gun.


You may notice that this ribbon doesn't hide the velcro quite as well.  That is because it is narrower than my first example.  That is something you will want to consider when you pick out your supplies.  For reference, the pink and brown ribbon was 7/8 in.  The blue ribbon is 5/8 in.


The shoes:


We're finished!