I love going to the beach, which is why we have this post today. But first, this candle.

We took my craft table out of our spare room. It had become a catch-all, and I do my crafts elsewhere. Besides, we needed the space and the table. So, I had to clean it off. While cleaning, I found (again) six votive candles that had melted together at the bottoms. They were made of soft wax that wipes clean, so I stuck them in a bowl and lit them. I felt kind of wasteful at first, as it was SIX candles all at once, but I have had them for over 10 years in a closet, and I wasn't doing anything else with them... I loved the effect that it gave. Once the candles melted down, it looked like I just had a candle with six wicks. I thought I would share it with you. You could use a bowl from a thrift store or yard sale. Next time, (when my candles aren't melted together) I think I will try arranging them in a circle.
Now, for today's idea.

As I said, I love going to the beach. I don't really like swimming, though. I prefer walking and picking up shells. The only problem then, is that I have hundreds of shells and I have to figure out what to do with them. I found some of them when I was cleaning my craft table area. I also found some sharks' teeth and ray dental plates that Tommy and I found in a local creek. They don't belong in a bag, they belong on display. I have been reading some great craft blogs lately, and one of them is Simple Simon & Co. I saw this and this and decided to create the displays you see below. I wanted to create a small showcase for some of my items. I tried one idea, and it was a disaster. I actually tried it twice before figuring out a better way. You get to benefit from my trial and error!
You will need an old picture frame. Mine are 4X6 and something smaller.

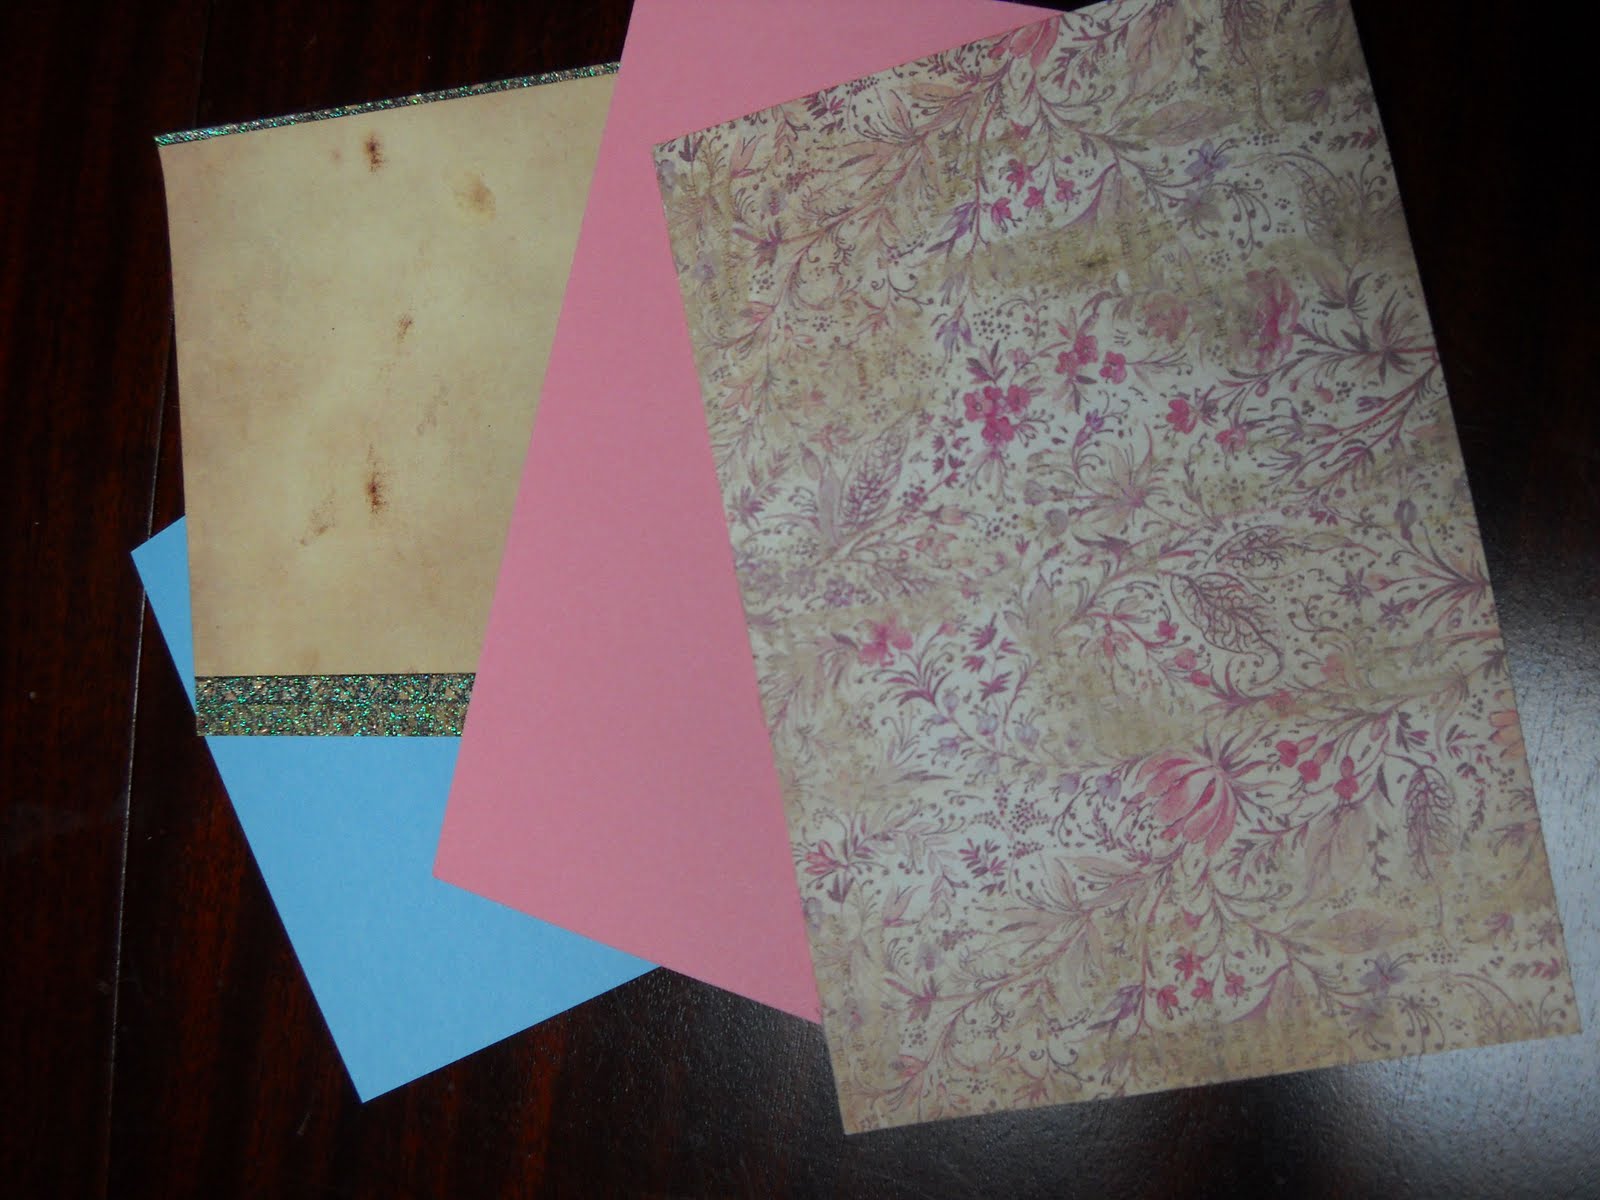
You will also need some paper (you could use fabric for a background, too) and large craft punches, or a ruler/compass and scissors.

I used 4X6 matting paper, but I still had to trim it down to fit inside the frame. My first error was not realizing the way my frame fit together, and by tracing the back piece, the paper was still too big.
This is my first disastrous attempt. I measured and drew guidelines and punched--and didn't realize my paper wasn't going to fit in the frame, and trimmed, and had crooked squares that had too much space in the middle... It was awful.

So I tried again. I tried using the frame already over the background and laid my square templates over that to trace it, and then cut the squares with an X-acto knife, because my punch wouldn't fit over the square I had drawn. It wasn't much of an improvement, as my sister will tell you that I cannot cut in a straight line. I decided it was "good enough" because I didn't think I could do any better with the cutting. Ick.
I moved on to the second frame, which I decided to make with circle displays. Unfortunately, my circle punch wouldn't fit over the circles I traced, either. Faced with using the X-acto knife again, I had an inspiration.
After you have finished laughing/gawking at the awfulness, here are the directions that work:
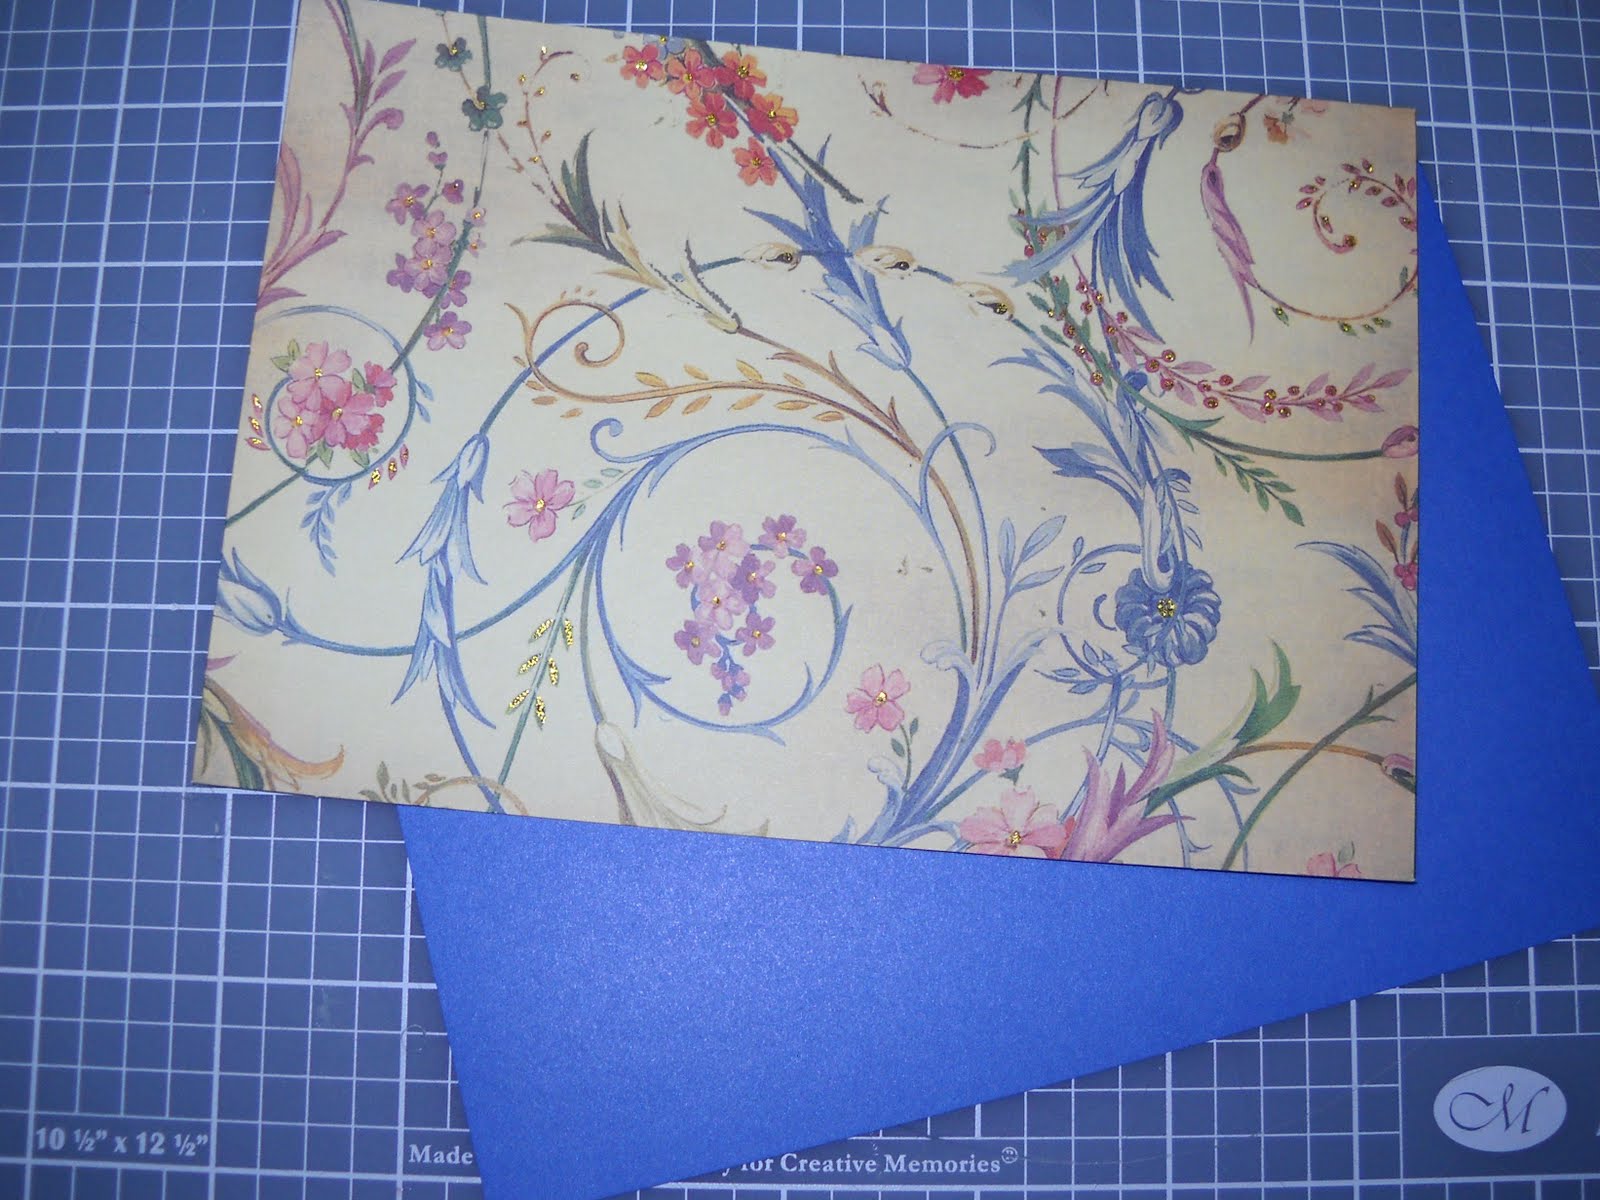
1. Choose a background (solid or print), and cut it to fit inside your frame.


2. Reassemble the frame with your background piece in front of the glass, and put the back on the frame. My frame was designed with room for the glass, and so I had to put it in to keep my paper from wiggling around.
This is a view of the BACK of my project. The paper goes in first, then the glass.

3. Once the frame is reassembled, turn it over.

4. Use craft punches (or scissors) to cut out the shape of your display area. This should be done on solid color paper (or something like parchment) to minimize distractions.


5. Put photo splits or glue on your display shapes to make them sticky.

6. Lay out your display pieces the way you would like them on the background in the frame, and stick them on. (You could put more than 2 areas and they don't have to be the same. You could mix and match... The possibilities are endless.)

These are the two frames I ended up with.

7. Use a glue gun or other glue to attach your little objects for display.


These are what I had when I finished.


I hope I have inspired you to try something new. It's okay to make mistakes. I hope you enjoyed seeing mine, and I hope you benefit from what I learned. And Mom, thanks for lending me the craft punches. You didn't really want them back, did you???? (Just kidding.)
What types of things would you display? Any other ideas for me to try? Leave a comment!
Wish I could say you can keep the punches, but you are welcome to use them unless I need them. I love sharing my things, remember?
ReplyDeleteThat is a nice way to display them!